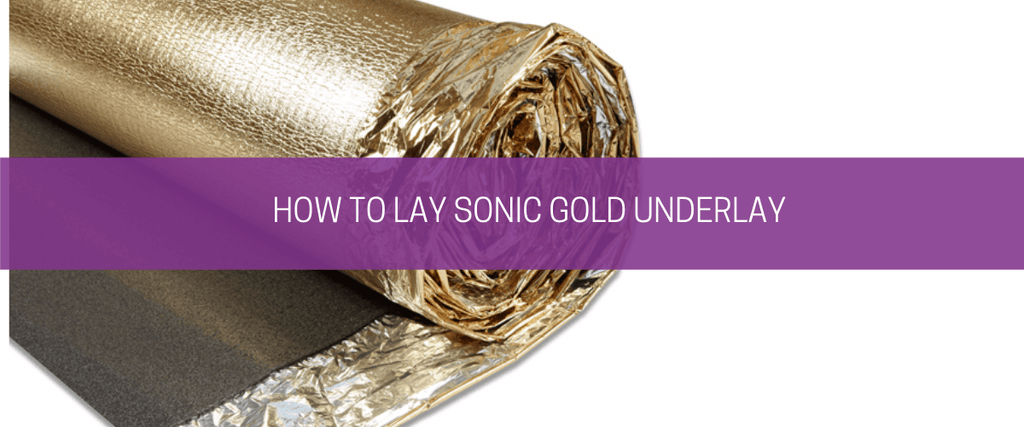
How To Lay Sonic Gold Underlay

So, you’ve just invested in Royale Sonic Gold Underlay? Are you unsure which way to lay the gold side?
First of all, great choice. Manufactured by Royale, this is one of the very best gold foil underlays currently available – engineered to provide superior insulation and damp-resistance for laminate and hardwood floorings. But to make the most of these properties, it must be fitted correctly.
For those attempting a DIY installation, here we offer a simple step-by-step guide.
3 Steps To Install Royale Sonic Gold 5mm Underlay
1. Prepare the subfloor
Before fitting any kind of foil-backed underlay, it’s important to prepare the subfloor. This will ensure the installation is as straightforward as possible and helps to create a professional finish.
Start by clearing away any loose dust and debris, either by using a vacuum or sweeping the area with a brush. Then, check the surface for minor damage (e.g. cracks, holes). It’s best to repair such damage before starting the installation. But if you can’t, don’t worry too much. Sonic Gold Underlay is designed to accommodate for small subfloor imperfections and will ensure the final floor is level.
2. Lay gold-side down
The key to a successful ‘gold underlay’ installation is to make sure the gold foil is facing the right way. The gold side needs to face the subfloor, as any moisture rising from the subfloor won't enter the underlay OR your flooring. So to reiterate, to create an effective moisture barrier and stop damp from getting into the polyethene (PE) foam, it must be laid gold-side down.
Hold the roll so that it is flush against the wall, with the 200mm ‘joint overlap section’ facing out towards the room. Slowly roll out the underlay until it reaches the other side and cut to size using a sharp knife or scissors. Once you’re happy with its position, you can then move on to the next row.
Butt the edges of the PE foam together, covering the foil overlap section – yet taking care not to overlap the foam itself. Again, roll it out until you reach the opposite side of the room and cut it down to size with a knife. This process should then be repeated until the entire subfloor has been covered.
3. Barrier Pro X Tape – Secure the seams/joins
The final step is to secure your new Royale gold foil underlay into place.
For this, we advise using Barrier Pro X Tape. This is approved and recommended by Royale for use with Sonic Gold 5mm Underlay. Simply stick the tape along the full length of each join. Not only does this prevent unwanted underlay movement, it also helps to seal the gold foil moisture barrier – and therefore eliminates the need for a separate damp-proof membrane.

Install your gold foil underlay today
Royale Sonic Gold Underlay is incredibly quick and easy to install. In fact, that’s one of its main benefits. Even if you’ve never laid a foil-backed underlay before, we guarantee – with the help of our handy ‘how-to’ guide, you’ll have it successfully fitted and ready for your laminate or hardwood in no time.
We also have a fantastic blog on ‘How to lay wooden flooring’ and ‘A beginner’s guide to flooring installation’, which are both worth a look. But of course, if you do run into difficulties, we’re always on hand and happy to help. Our team have excellent knowledge of Sonic Gold 5mm Underlay, and can offer further tips on how to fit it correctly and achieve the best possible finish.
If you have any questions, feel free to give us a call on 0203 887 0994 or send an email to sales@carpet-underlay-shop.co.uk and we’ll respond to your enquiry as soon as possible.- Carl Smith


