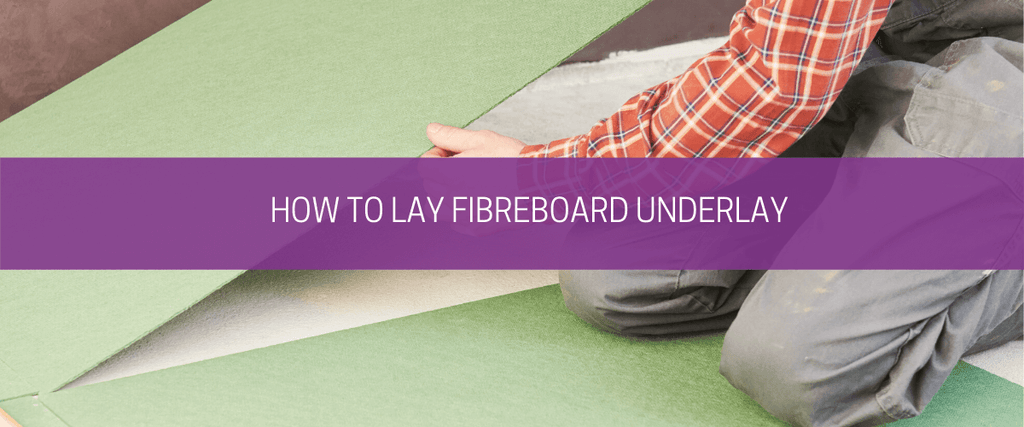
How to lay fibreboard underlay

Want to lay your own fibreboard underlay?
Don’t worry – even for a DIY amateur, it’s a quick and simple process. In fact, ‘easy installation’ is one of the key benefits of this particular type of underlay. Each board is lightweight and can be effortlessly put into place and, using our ‘how to’ guide, the job will be done and dusted in no time.
5 steps to lay fibreboard underlay
Regardless of whether you choose the Royale 5mm or Royale 7mm Fibreboard Underlay for your project, we recommend using the same five step installation process:
1. Acclimatise the fibreboard
Once your new fibreboard underlay has arrived, allow it to adjust to the temperature and humidity of the room in which it will be laid. This will significantly reduce the chance of it shrinking or expanding after installation and, as such, will ensure you achieve the best possible results.
In its original packaging, stack the fibreboard in the centre of the room – so that air can circulate each individual pack – and leave it to acclimatise for a minimum of 48 hours.

2. Prepare the subfloor
Fibreboard is specifically designed to rectify imperfections in the subfloor (e.g. cracks, scratches) and will help to level an uneven surface. It’s one of its main advantages. However, before you start fitting, it’s still worth preparing the floor and ensuring it’s as clean and dry as possible. Use a brush or hoover to remove excess dust and debris and secure any loose floorboards with nails.
3. Add a damp proof membrane
If your subfloor is made from wood, you can bypass this step and move on to the next. But if you’re working with a concrete subfloor, it’s usually worth adding a damp-proof membrane.
Essentially, this is a thin layer of plastic, which creates an additional barrier and prevents moisture from rising into the fibreboard sheets. Lay it down over the full surface area of the room and cut it to size with a craft knife, leaving a 50mm border around the edge (for under the skirting board).
4. Lay the first row
You’re now ready to start laying the fibreboard.
Each sheet should be loosely placed at a 90° angle to the intended direction of your new flooring. Start in the corner of the room, taking care to leave a 10mm gap between the fibreboard and the wall. Once the first piece has been positioned correctly, move along the row – leaving an expansion gap of approximately 2mm between each sheet – until you reach the other side of the room.
To ensure it slots neatly into place, the last board may need to be cut into two pieces using a knife and straight edge. You should then use the remaining piece of fibreboard to start the next row.

5. Cover the entire floor space
Repeat the process above, until the entire floor space has been covered. It’s important to create a staggered pattern with the fibreboard sheets and distribute the joints throughout the room. For doorways, measure the area and – once again – cut the fibreboard to size using a knife.
Get in touch for further guidance
Laying fibreboard underlay isn’t difficult, especially if you follow our beginner’s step-by-step guide. And once it’s done, you should be able to fit your laminate flooring directly on top of the boards. But if you’re struggling or would like further installation advice, remember, we’re always happy to help.
Our team has excellent knowledge of Royale Fibreboard Underlay and how to fit it successfully. Just give us a call on 0203 887 0994 or send your enquiry to sales@carpet-underlay-shop.co.uk.
- Carl Smith


