How to lay carpet underlay
Afraid to say you’re a bit of a DIY novice? Don’t worry. Our carpet underlay is relatively easy to fit. Even if you’re new to the world of home improvements, simply follow this step-by-step guide on how to lay carpet underlay and – we guarantee – the job will be done-and-dusted in no time.
5 steps to laying carpet underlay
-
Measure the room
The first step is to take accurate measurements of the room. Perhaps draw a quick diagram – make a note of each dimension as you go and repeat the process to make sure they’re all correct. Ignore any recesses or protrusions in the room, as the carpet underlay will be cut around these. You just need to establish the room’s length and width and multiply these together to get the surface area.
If maths isn’t your strong point, you can always use our handy online measurement calculator. Simply type in the dimensions and it will provide both the area of the space (in ft2 or m2) and the amount of gripper you will need to complete the job.

-
Choose your carpet underlay
There are various different types of carpet underlay to choose from. For example, here at Carpet Underlay Shop, we stock PU foam, wool felt, combination felt and rubber, rubber, crumb rubber and double-stick. We also have a selection of underlay designed for use with underfloor heating.
Essentially, these are all designed to do the same thing – but they have slightly different properties. So, it’s a good idea to do a little research before you buy. Check out our blog on the different types of underlay for more information and be sure to pick the best one for your needs.
-
Prepare the floor
As with any DIY job, preparation is the key to success – and before you start to lay the carpet underlay, you need to make sure the floor is clean and tidy. Sweep away any nails or staples that have been left over from the previous carpet and use a vacuum to remove any dust or grit.
If not already in place, grippers should also be added at this stage. These need to be fitted around the perimeter of the room, leaving approximately a 7mm gap between the gripper and the wall.
-
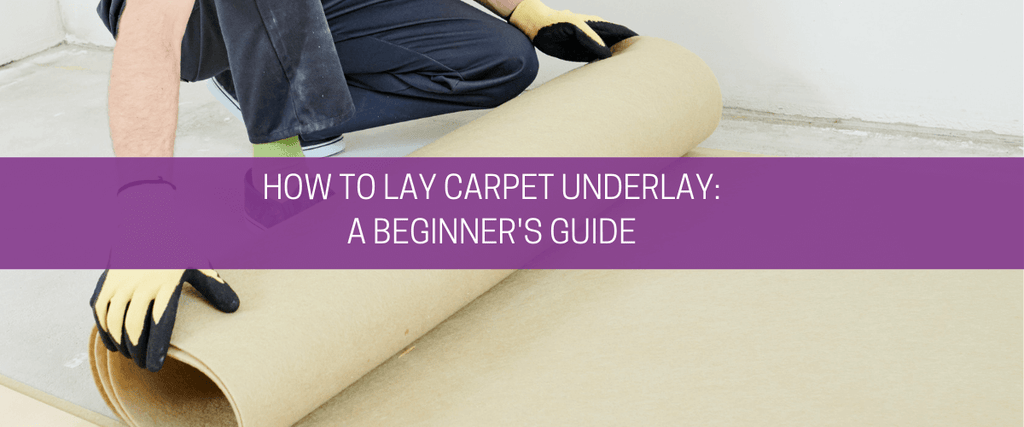
Lay the carpet underlay
You’re now ready to start the carpet underlay installation. Take the first roll, position it on one side of the room and roll it out until it reaches the other. It’s important to ensure the underlay is rubber or foam-side down. Try to keep the underlay as straight (and bump-free!) as possible and secure in place – either by stapling inside the gripper or by using an effective adhesive.
Each roll of underlay should be laid in the same way. Butt the rows together as closely as possible, but make sure they don’t overlap, and cut around any doorways or recesses using a utility knife.
-
Add the final touches
Once the entire surface area has been covered, you should then apply tape along the full length of each join in the carpet underlay. This will stop it from moving and prevent any unwanted bumps and lines in the carpet. It’s also a good idea to trim away any excess underlay inside the grippers. Take your time with this and, for a professional finish, make the cuts as straight and crisp as possible.

Get in touch for further guidance
If you’re about to fit underlay for the first time and you need further assistance, please feel free to get in touch. Our team, here at the Carpet Underlay Shop, are always happy to help. Not only can we offer useful tips on how to lay carpet underlay, but we can also advise on the best underlay for your project. Either give us a call on 0203 887 0994 or send an email to sales@carpet-underlay-shop.co.uk.
- Carl Smith