
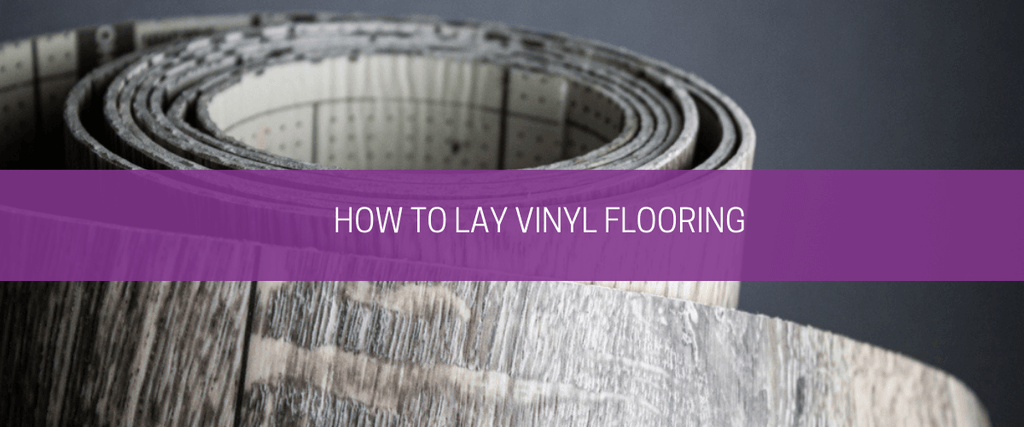
How to lay vinyl flooring
Vinyl flooring.
It certainly has a lot of perks.
It’s durable and long-lasting. It’s water-resistant. It’s soft and comfortable underfoot. It’s easy to keep clean. It looks great and comes in a range of colours and patterns. It’s affordable. And the best bit? It’s actually super easy to install. If you can’t already tell, we’re a big fan.
That’s why we have a wide range of vinyl roll flooring for you to choose from.
If you’d like to give your kitchen or bathroom a quick and cost-effective refresh, why not have a go at fitting it yourself? Just choose your roll, place an order and – with the help of our step-by-step installation guide – the job could be done and dusted by this time next week.
How much sheet vinyl do you need?
First things first, grab your trusty tape measure.
Getting your measurements right will set the rest of your project up for success – and, thankfully, you don’t need to be a genius mathematician to work it out. Measure the overall length and width of the room, including any alcoves or recesses. Then add an extra 50mm – 100mm to each edge. Easy as that.
If there are any fixtures or fittings that can’t be removed during installation (e.g. a bath, sink or toilet), include these in your measurements too; these will simply be cut out of the overall sheet.
Here at Carpet Underlay Shop, all of our sheet vinyl flooring comes in two widths – 2m and 4m – and a variety of lengths, ranging from 2m up to 12m. So, no matter how big or small the room, you can purchase a perfectly sized roll for your needs, keeping the cost (and waste) to a minimum.

Tool checklist for laying vinyl flooring
Once you’ve mastered your measurements, the next step is to gather the right equipment.
To lay your new sheet vinyl successfully, we recommend having a:
- tape measure
- home-made scribing gauge
- pair of scissors
- Stanley knife
- bolster chisel
- straightedge (or metal tape measure)
- vinyl adhesive spray
Remember to do the prep work
One of the main benefits of vinyl roll flooring is that it can be laid on pretty much any surface. But to get the best results, it’s worth doing a little prep work – particularly on the subfloor.
- Clear the space
Remove as much furniture as possible and take any doors off their hinges. As vinyl comes as a large sheet, it can be quite tricky to manoeuvre into place – so whilst getting rid of potential obstacles can be heavy work, it will make the vinyl installation much quicker and easier.
- Out with the old
Ideally, any old tiles or flooring should be removed first. But if you can’t do this, ensure the existing covering is as secure and level as possible – filling in any dents or gaps.
- Clean up
Whatever the nature of the subfloor – whether you’re laying vinyl onto old flooring, concrete or wooden floorboards – it needs to be dry, clean and smooth before you begin the installation. Allow any moisture enough time to dry. Sweep and vacuum away any loose dust, dirt and debris. Look for any signs of damage and ensure no nails are sticking out above the surface.
- Acclimatise the vinyl
This will help to minimise any expansion or shrinkage of the vinyl after its installation. Simply leave the linoleum roll in the desired room for 24-48 hours, allowing it to acclimatise to the room’s temperature. During the cold winter months, leaving the heating on can help.
4 steps to install sheet vinyl flooring
Unless your room is particularly large, it’s best to fit lino roll flooring as one seamless sheet. Not only does the final result look much better, it also stops any peeling or wear at the edges of each piece.
Step 1

Start by unrolling your vinyl flooring, so the longest side of the sheet is parallel to the longest wall, and position it about 25mm away from the skirting board.
In most cases, the skirting won’t be completely straight – therefore, you’ll need to trace its profile onto the vinyl using a homemade scribing gauge.
To make the gauge, hammer a nail into a small off-cut of wood (around 30mm from one end), until the point of the nail is sticking out on the other side. Then, gently move the gauge along the skirting – allowing the nail to lightly score an outline into the vinyl.
Cut the sheet along this line with a Stanley knife and slide the vinyl flush against the wall.
Step 2

Next, tackle any internal corners.
To get the vinyl to lie as flat as possible, cut a triangular notch at each internal corner using scissors. This cut can be made in the 50-100mm extra added around the edge.
Press the sheet vinyl flooring into the gap between the skirting board and the subfloor using a bolster chisel – thereby creating a sharp crease. Then, cut carefully along this crease using a straightedge and Stanley knife.
Top tip: to ensure the cut is as neat as possible, hold the knife at a slight angle.
Step 3

Time to sort the external corners.
For these, the process is pretty much the same. Start by making a cut from the edge of the vinyl straight down to the floor. Trim away any excess, leaving 50-100mm turned up at the skirting boards.
Once again, use the bolster chisel to press the vinyl into the gap between the skirting board and the subfloor and create a crease. Then, hold the straightedge against the crease and cut along using the knife.
Step 4

Once you’ve trimmed the vinyl sheet to size, the last step is to stick it to the subfloor.
For loose-lay vinyl flooring – such as that available in our store – lift each edge and spray adhesive around the perimeter of the room, taking extra care in the corners. Put the vinyl back into place and press firmly.
It’s also a good idea to add adhesive at any seams (if you’ve used more than one sheet). And if you’re laying vinyl roll flooring in a bathroom, to maximise its waterproof properties, seal the edges with silicone.
Stuck on a tricky bit?
Rooms come in all shapes and sizes. The chances are, when fitting your vinyl, you’ll come across an obstacle or two along the way – such as a sink pedestal in the bathroom or a radiator pipe in the kitchen. But the good news is, the solution for all of these challenges is pretty much the same.
Trim down the vinyl, use the bolster chisel to create the desired crease(s) and cut it to size.
Here’s how to tackle some of the most common ‘tricky bits’:
Door frames
Make a cut from the edge of the vinyl to the floor, in several places around the doorframe. Cut away the excess, leaving 50-100mm turned up at the bottom. Then, use the bolster chisel to press the vinyl flooring into the gap between the doorframe and subfloor, and cut neatly along the crease.
To finish, cut a straight line across the doorway and install a metal door bar to hold the vinyl in place.
Toilet and sink pedestals
To get the sheet vinyl to lie as flat as possible, make a series of cuts from the edge of the vinyl down to the base of the pedestal – taking extra care not to cut too far or tear the vinyl accidentally.
Use the bolster chisel to make a crease all the way around the base. Then, cut along these creases and trim away excess until the vinyl fits snugly. To ensure a neat and secure finish, stick the vinyl in place by adding adhesive around the pedestal and seal the edges with waterproof silicone.
Radiator pipes
Make a straight cut from the edge of the vinyl to the pipe. Then, make lots of tiny cuts around the base of the pipe until the vinyl flooring lies flat. Trim off any excess to ensure a neat finish.
Large rooms
If you’re fitting sheet vinyl flooring in a particularly large room (i.e. measuring more than 4x12m), you may need to join two or more sheets to cover the entire floor. Place the two sheets side by side, positioning them as close together as possible, without creating any overlaps or leaving any gaps.
Then, use adhesive to stick each side to the subfloor and press down firmly.
Patterned vinyl can sometimes be difficult to join, as it involves matching up the pattern. If you’re struggling, try overlapping the sheets until the pattern matches and cut each sheet to size.

Ready to get started?
Here at Carpet Underlay Shop, we have everything you need to start laying vinyl flooring like a pro.
Our affordable vinyl flooring comes in a range of styles and shades, from classic parquet and traditional oak to geometric patterns and slate effect tiles. Starting from just £37.58, it’s one of the most affordable options available – particularly if you choose to lay it yourself. And we have plenty of stock, ready and waiting to be delivered the next working day.
We also have a selection of fitting tools to help you complete the job, including high tack contact spray adhesive (available for just £7.99), plus utility knives and high-quality metal door bars.
So why not take a look? Order what you need and get started.
Our in-house specialists are always on hand and happy to offer their assistance. So if you’d like further advice on how to put down sheet vinyl flooring, or have a question about the lino roll flooring available in our store, please don’t hesitate to get in touch.
Either give us a call on 0203 887 0994, or send an email to sales@carpet-underlay-shop.co.uk and a member of the team will respond to your enquiry.
Step-by-step images sourced from diy.com.
- Alex Illidge